In a world where speed is king, Solid State Drives (SSDs) are revolutionizing the way we experience computing. Remember the days of drumming your fingers on the desk, waiting for programs to load? Those days are long gone.
Today, SSDs offer a fantastic pace for data access, transforming our interaction with technology. With this guide, I’ll help you understand the ‘how’ but also the ‘why’ of SSD installation. Let’s find out how you can unlock the full potential of your computer.
The Game-Changing Upgrade
Upgrading to a Solid State Drive (SSD) is like giving your computer a new lease on life. The speed and efficiency leap is significant, transforming even an aging PC into a more responsive and agile machine. Many users often ponder whether they should opt for eMMC or SSD storage, but in my opinion, SSD is a go-to option. If you want even less hassle, you can always go for an external SSD.
A Shift in Performance
Remember the first time you switched from a standard HDD to an SSD? The difference was night and day. Boot times slashed, applications launched in a blink, and overall system responsiveness soared.
Tools and Preparation
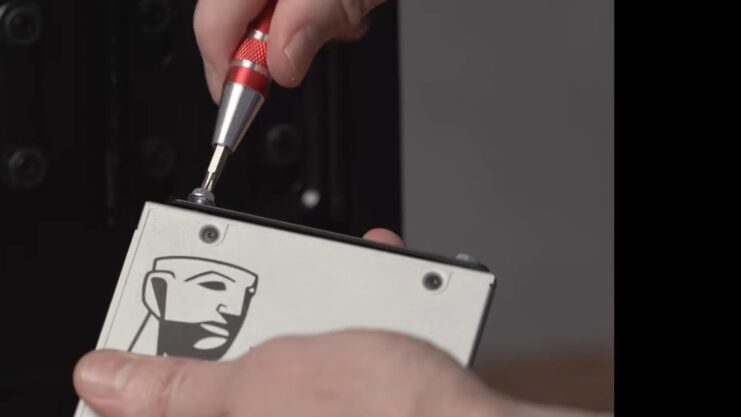
Before starting the installation, it’s important to gather the right tools and prepare your workspace. A Phillips screwdriver is usually all you need. Ensure you have a clean, static-free environment to work in. Don’t forget to ground yourself to avoid a static discharge that can damage PC components.
Choosing the Right SSD
Selecting the right Solid State Drive is crucial. Size (2.5-inch is standard for most laptops and desktops), interface (SATA III or NVMe), and capacity are key factors. We’ll explore these choices, helping you find the perfect SSD for your needs.
Purchasing the Right Solid State Drive
Types
There are different types of Solid State Drives: SATA and NVMe being the most common. SATA SSDs are compatible with older systems and offer a significant performance boost over HDDs. NVMe SSDs are newer, faster, and designed for newer motherboards with M.2 slots.
Capacity and Brand Considerations
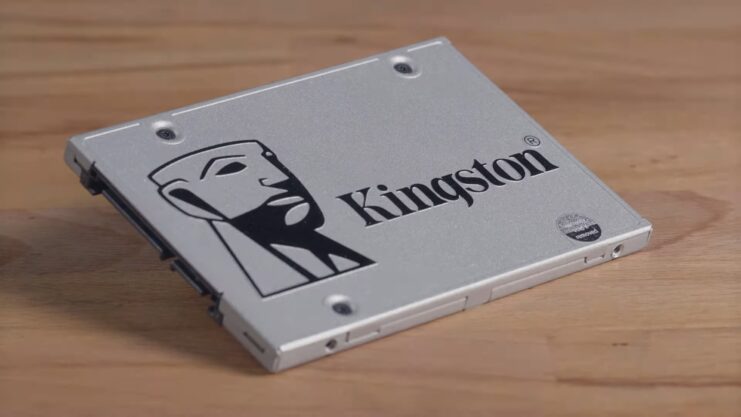
Capacity matters. A 250GB SSD is a minimum for most users, but for those with larger media collections or games, 500GB to 1TB is recommended. Brand reliability is also crucial – stick with reputable manufacturers like Samsung, Crucial, or Kingston.
Price vs. Performance
It’s a balance between cost and performance. Higher-end NVMe SSDs offer blazing speeds but come at a premium. SATA SSDs are more budget-friendly and still offer a substantial performance upgrade.
Pre-Installation Setup
Backup Your Data
Always start with a backup. Whether you’re cloning your old drive or starting fresh, ensure all your important data is safely backed up.
Required Software and Drivers
If you’re cloning your old drive, you’ll need cloning software. Many SSDs come with their own, or you can use third-party tools. Ensure you have the latest drivers for your motherboard, especially if you’re installing an NVMe SSD.
Creating a Bootable Windows Drive
If you’re doing a clean install, you’ll need a bootable USB drive with Windows. Microsoft’s Media Creation Tool makes this easy. It’s straightforward but crucial for a clean installation.
Physically Installing the Solid State Drive
Turn off your PC and unplug it. Open the case by removing the side panel. For laptops, the back panel usually opens up for SSD access.
Installation Process
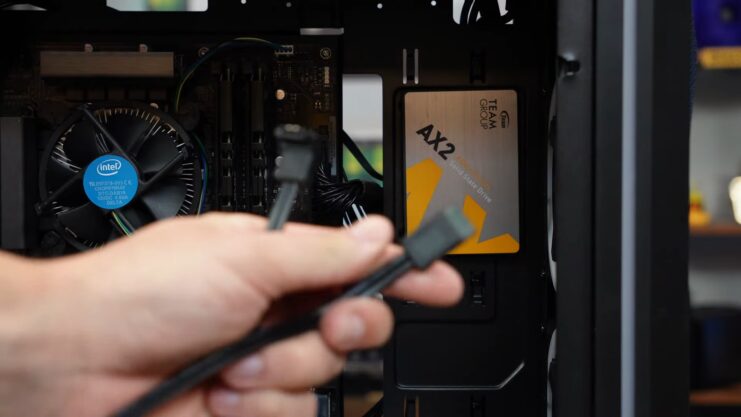
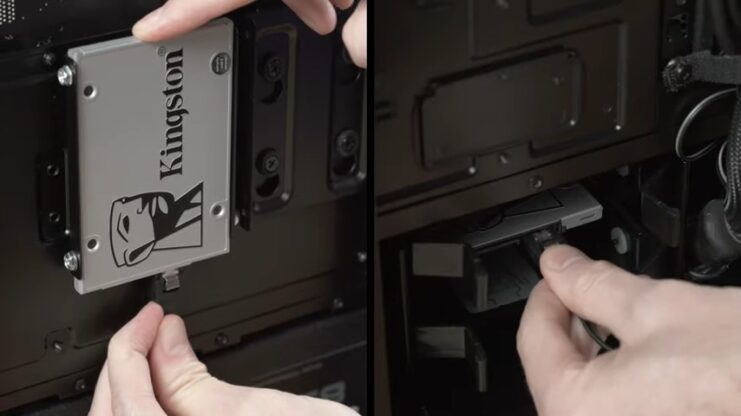
For a 2.5-inch SATA SSD, connect it to the SATA port on your motherboard and secure it in a drive bay. For an NVMe SSD, slot it into the M.2 connector for M.2 SSD on your motherboard and secure it with the tiny screw.
Cable Management
Cable management is key for airflow and aesthetics. Ensure your SATA and power cables are neatly routed and secured.
Software Installation and Configuration
Cloning Your Old Drive (Optional)
If you’re cloning, now’s the time. Connect your old drive using a USB-to-SATA adapter or place it in another drive bay. Use the cloning software to transfer your OS, files, and settings.
Clean Windows Installation
For a clean install, boot from your USB drive. Follow the prompts to install Windows on your new SSD. It’s a straightforward process – just make sure you select the right drive.
Final Configurations
After installation, enter BIOS to ensure your SSD is the primary boot device. Update your drivers and Windows. This is also a good time to enable features like TRIM for SSD longevity.
Troubleshooting Common Installation Issues
Identifying and Resolving Installation Problems
Even with careful installation, you might encounter issues. Common problems include the SSD not being recognized, poor performance, or boot issues. Let’s tackle these head-on.
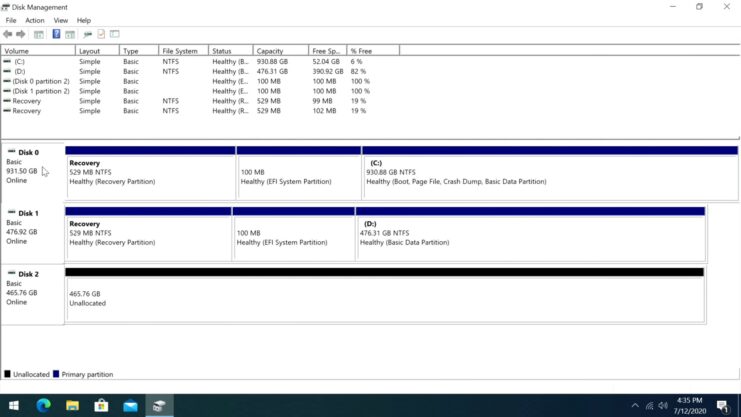
BIOS Settings and SSD Recognition
If your SSD isn’t recognized, the first place to check is your BIOS. Ensure the SATA mode is set correctly (AHCI is usually the go-to setting). For NVMe drives, make sure the M.2 slot is enabled.
Firmware Updates and Performance Issues
Performance issues can often be resolved with a firmware update for your SSD. Visit the manufacturer’s website for the latest firmware and installation instructions. This can also resolve compatibility issues.
Boot Issues and Secure Boot
If you’re facing boot issues, check the boot order in BIOS. Ensure your SSD is the primary boot device. Also, disable ‘Secure Boot’ if you’re having trouble booting from a USB installation media.
Maintenance
Unlike HDDs, SSDs have limited write cycles. Regular maintenance ensures longevity and optimal performance.
Optimizing Windows
Windows has built-in tools to optimize SSDs, like TRIM. Ensure it’s enabled. Also, disable defragmentation for your SSD, as it’s unnecessary and can reduce lifespan.
Monitoring Health and Performance
Use tools to monitor your SSD’s health. Many manufacturers provide software to check the drive’s condition and remaining lifespan. Regular checks can prevent data loss and keep your SSD in top shape.
Upgrading Further
With your SSD installed, consider other upgrades. More RAM, a better GPU, or even a new processor can further enhance your PC’s performance.
Building a Balanced System
Balance is key in PC upgrades. Ensure your CPU, GPU, and RAM are in harmony with your new SSD. This balance ensures you get the most out of your system.
Planning for Future Upgrades
Technology evolves rapidly. Keep an eye on new advancements, like PCIe 4.0 SSDs, to stay ahead. Plan your upgrades to ensure compatibility and maximized performance.
FAQs
Can I transfer my operating system to the new SSD without reinstalling it?
Yes, you can do this by cloning your existing hard drive to the Solid State Drive. This process creates an exact copy of your current system on the SSD, including the OS, installed programs, and personal files.
Is it necessary to update the BIOS before installing a Solid State Drive?
It’s not strictly necessary to update your BIOS before installing a Solid State Drive, but it’s recommended, especially for older systems. A BIOS update can ensure better compatibility and potentially unlock new features or performance enhancements that benefit SSD operation.
Can installing an SSD improve my laptop’s battery life?
Yes, installing it can improve your laptop’s battery life. Solid State Drives consume less power than traditional hard drives because they don’t have moving parts, leading to more efficient power usage and potentially longer battery life.
Do I need a special bracket to install a 2.5-inch SSD on a desktop PC?
Some desktop PCs might require a 2.5-inch to 3.5-inch bracket adapter to fit it into a standard hard drive bay. However, many modern cases come with dedicated 2.5-inch slots, or you can securely mount the Solid State Drive without a bracket in an available space inside the case.
How do I know if my computer supports NVMe SSDs?
To determine if your computer supports them, check your motherboard’s specifications. Look for M.2 slots that specifically mention NVMe support for M.2 SSDs. You can usually find this information in your motherboard’s manual or on the manufacturer’s website.
Is it better to use an SSD for the operating system and an HDD for storage, or should I use only an SSD?
Using a Solid State Drive for the operating system and key applications while using an HDD for larger storage needs (like media files) is a cost-effective way to enjoy the speed benefits of an SSD without sacrificing storage capacity. However, if budget allows, using only Solid State Drives will provide the best performance and reliability.
Final Words
Upgrading to a Solid State Drive is a pivotal step in enhancing your computing experience. Armed with this comprehensive guide, you’ve not only successfully installed your SSD but also equipped yourself to maintain and get the most out of it.