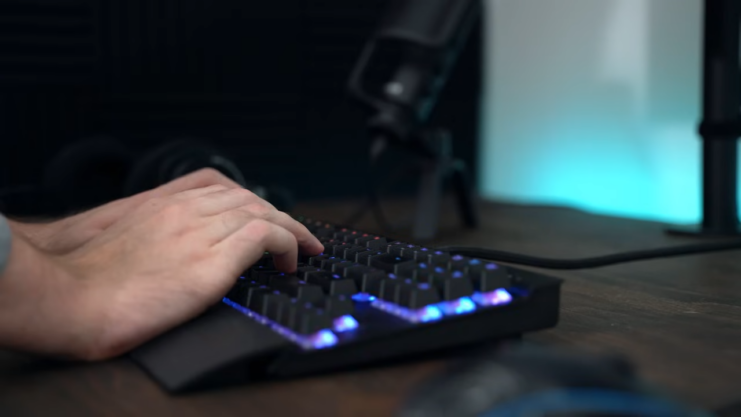
Throughout my career, I’ve seen firsthand how a well-maintained mechanical keyboard can significantly enhance your computing experience. These keyboards are input devices and an extension of the user, offering tactile feedback and precision that can’t be matched by their membrane counterparts.
However, their specific design also makes them prone to accumulating dust, debris, and grime, especially with white keyboards as they get dirtier more quickly, which can affect their performance over time. In this article, I will talk about mechanical keyboards and their maintenance. I’ll guide you through the essentials of keeping them in pristine condition, ensuring each keystroke is as satisfying as the first. Here’s what you can expect:
- The Importance of Regular Cleaning: Learn why keeping your mechanical keyboard clean is crucial for its longevity and functionality.
- Step-by-Step Cleaning Guide: I’ll provide a comprehensive, easy-to-follow guide to clean every nook and cranny of your mechanical keyboard.
- Maintenance Tips: Discover simple, effective ways to maintain your keyboard’s cleanliness and prevent common issues.
By the end of this article, you’ll be well-equipped with the knowledge to keep your mechanical keyboard in top shape, ensuring a seamless and enjoyable typing experience.
Preparing for Cleaning
Before starting the cleaning process, it’s crucial to gather the right tools and prepare your workspace. As someone who’s spent years tinkering with PC accessories, I can assure you that having the right equipment on hand makes the task significantly easier and more effective. Here’s what you’ll need:
Tools and Materials
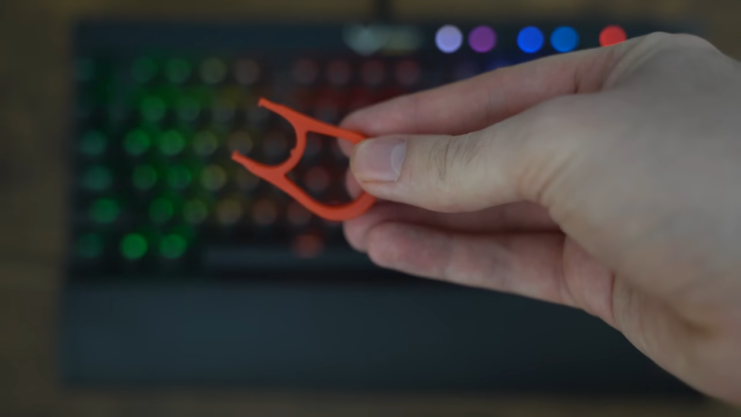
- Keycap Puller: This tool is essential for safely removing the keycaps without damaging them or the switches underneath.
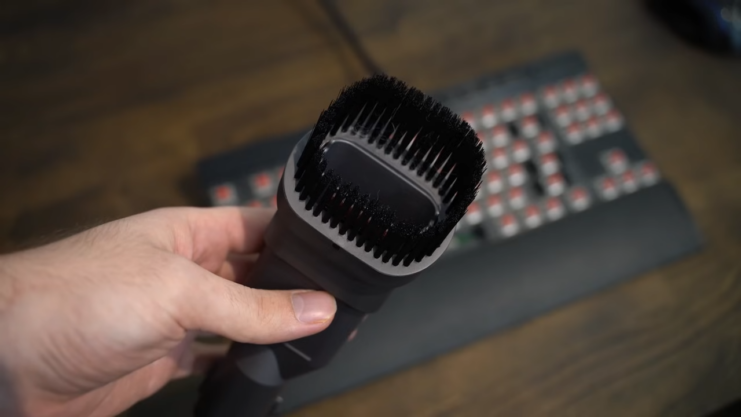
- Soft Brushes or Compressed Air: Ideal for removing dust and debris from between the keys and other hard-to-reach areas.
- Microfiber Cloths: Microfiber is gentle on surfaces and effective at picking up dust and wiping away grime.
- Isopropyl Alcohol: A cleaning agent that’s effective for sanitizing and removing oily residues without harming the keyboard’s components.
- Cotton Swabs: Useful for detailed cleaning around the switches and tight spaces.
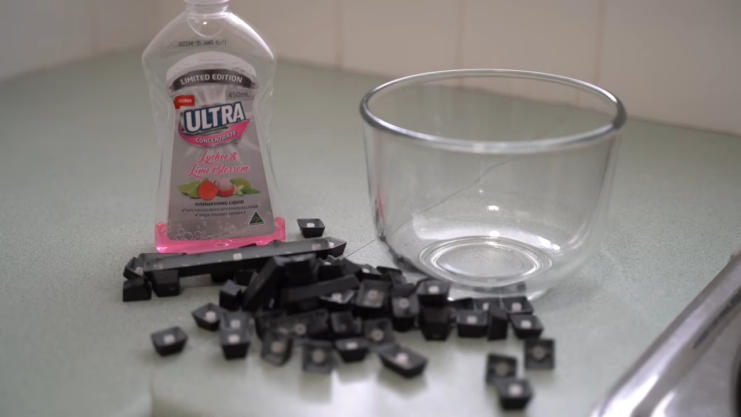
- Mild Dish Soap: Needed for cleaning the keycaps without damaging them.
Safety Precautions and Preliminary Steps
- Unplug Your Keyboard: Always start by disconnecting your keyboard from the computer to prevent any electrical damage or unintended inputs.
- Take a Photo: Snap a picture of your keyboard layout. This will be a handy reference when you’re putting the keycaps back on.
- Create a Workspace: Choose a clean, flat surface to work on. Having enough space to lay out all the components will make the process smoother.
With these tools and preparations in place, you’re now ready to start cleaning.
Step-by-Step Cleaning Guide
The cleaning process is not just about wiping the surface, as it involves careful methods to ensure every component is cleaned without causing damage. Here’s what you need to do:
1. Removing Keycaps
- Use the Keycap Puller: Gently insert the keycap puller under each keycap and lift it off. Do this one key at a time to avoid damaging the switches.
- Organize Keycaps: Place the removed keycaps in a container or layout them on your workspace in order of their position on the keyboard.
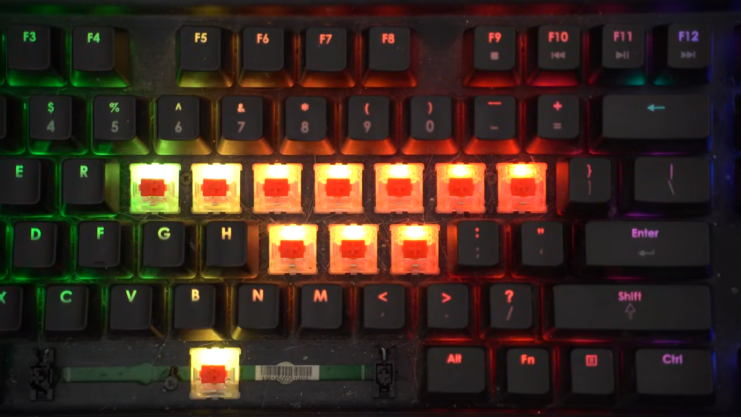
2. Cleaning Under the Keycaps
- Dust Removal: Use compressed air or a soft brush to dislodge and remove dust and debris from the keyboard’s surface and between the switches.
- Wiping Down: Take a microfiber cloth, slightly dampened with isopropyl alcohol, and gently wipe the area where the keycaps were. Be careful not to let any liquid seep into the switches.
3. Cleaning the Keycaps
- Soaking: Place the keycaps in a bowl of warm water mixed with a few drops of mild dish soap. Let them soak for a few hours.
- Gentle Scrubbing: After soaking, use a soft brush or cloth to gently clean each keycap.
- Rinsing and Drying: Rinse the keycaps with clean water and dry them thoroughly. Ensure they are completely dry before reattaching.
4. Wiping the Keyboard Frame
- Overall Clean: Use a microfiber cloth with a small amount of isopropyl alcohol to wipe the keyboard’s frame, including the area around the keys and any additional surfaces.
5. Reassembling the Keyboard
- Reattach Keycaps: Refer to the photo you took earlier and start placing the keycaps back on their respective switches. Press them firmly until they click into place.
After following these steps, your mechanical keyboard should not only look cleaner but also function more smoothly. Regular cleaning can prevent common issues like sticky keys and prolong the life of your keyboard. Remember that mechanical keyboards are different than membrane ones, and they require thorough cleaning, which can actually be pretty straightforward.
Advanced Cleaning Techniques
For those who are comfortable with a more in-depth cleaning process, there are advanced techniques that can be employed to ensure your mechanical keyboard is in top-notch condition. This level of cleaning is particularly beneficial for keyboards that have been heavily used or have not been cleaned for an extended period.
Disassembling
- Safety First: Make sure the keyboard is unplugged.
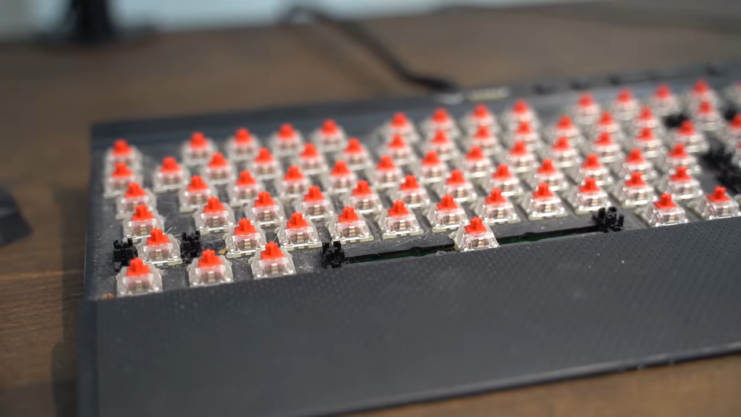
- Disassemble with Care: Depending on your model, you may need to remove screws or gently pry open the case. This step exposes the internal components, such as the circuit board and switches.
- Document the Process: It’s a good idea to take pictures as you disassemble your keyboard. This serves as a guide for reassembly.
Cleaning Individual Components
- Circuit Board: Use a soft brush or compressed air to remove dust. If there are sticky residues, carefully use a cotton swab dampened with isopropyl alcohol to clean the area.
- Switches: If your keyboard has removable switches, you can take them out and clean them individually. Be cautious and gentle to avoid damaging the delicate components.
Dealing with Sticky Keys or Malfunctioning Switches
- Lubrication: Sometimes, keys may become sticky or unresponsive due to lack of lubrication. Use a suitable keyboard switch lubricant to remedy this. Apply sparingly and precisely.
- Switch Replacement: In cases where cleaning doesn’t fix the issue, replacing the faulty switch might be necessary. This requires some technical know-how and the right tools.
Advanced cleaning is a more time-consuming process but can significantly extend the life and performance of your mechanical keyboard. It’s recommended for enthusiasts or those with keyboards that see heavy usage.
Maintenance and Prevention Tips
Regular maintenance is key to ensuring your mechanical keyboard stays clean and functions optimally for years to come. Here are some simple yet effective tips:
Routine Maintenance Practices
- Regular Dusting: Use a soft brush or compressed air to remove dust from the keyboard’s surface and between the keys at least once a week.
- Periodic Deep Cleaning: Depending on your usage, a more thorough cleaning as described in the previous sections should be done every 3 to 6 months.
- Immediate Spill Response: In case of spills, immediately unplug the keyboard and clean the affected area. This can prevent damage to the electronic components.
Preventive Measures
- Keep Food and Drinks Away: Try to avoid eating or drinking over your keyboard to prevent crumbs and spills.
- Use Covers: Consider using a keyboard cover when not in use to protect against dust accumulation.
- Hand Hygiene: Keeping your hands clean before using your keyboard can significantly reduce the build-up of oils and grime on the keycaps.
Selecting the Right Products for Cleaning Mechanical Keyboards
Choosing the appropriate cleaning products for your mechanical keyboard is crucial for effective maintenance without causing damage. I’ve experimented with various products and methods, so here are my recommendations:
Recommended Cleaning Products and Tools
- Keycap Puller: Essential for safely removing keycaps without causing damage.
- Isopropyl Alcohol (70-90%): Effective for sanitizing and removing grease; ensure it’s diluted appropriately.
- Microfiber Cloths: Ideal for gentle cleaning without leaving scratches or residues.
- Soft Brushes: Perfect for dusting off the surface and hard-to-reach areas.
- Compressed Air: A quick way to blow dust out from under the keys.
DIY Solutions vs. Commercial Products
- DIY Solutions: Simple mixtures like diluted dish soap and water can be effective for cleaning keycaps. Homemade solutions are often more affordable and customizable.
- Commercial Cleaning Products: Specialized keyboard cleaning products are designed for safety and effectiveness but can be more expensive. Always read the labels and use them as directed.
Safe and Effective Cleaning Agents
- Safety First: Avoid using harsh chemicals like bleach or ammonia-based cleaners, as they can damage your keyboard.
- Effectiveness: Look for products that are specifically formulated for electronics or plastics to ensure they won’t harm the keyboard’s components.
FAQs
Can I use a vacuum cleaner to remove dust from my mechanical keyboard?
While a vacuum cleaner can be used to remove dust, it’s important to use it with a small brush attachment and on a low setting to avoid damaging the keys or internal components.
Is it safe to use a hairdryer to speed up the drying process of cleaned keycaps?
Yes, but use the hairdryer in a cool setting and keep it at a reasonable distance to prevent any heat damage to the keycaps.
How often should I lubricate the switches on my mechanical keyboard?
Lubrication of switches should typically be done once every year or two, depending on usage. Over-lubrication can attract more dust and cause keys to feel sluggish.
Can I clean my mechanical keyboard with baby wipes?
It’s not recommended to use baby wipes as they might contain lotions or oils that can leave a residue on the keyboard. If you must use them, ensure they are alcohol-free and gently wipe the surface without pressing too hard.
Are there any specific environmental conditions I should consider for storing my mechanical keyboard?
Avoid exposing it to extreme temperatures or humidity, as these conditions can damage electronic components. Store in a cool, dry place when not in use.
How do I handle a key that keeps sticking even after cleaning?
If a key continues to stick post-cleaning, you might need to remove the keycap and check for any residual grime or damage to the switch. If cleaning doesn’t help, consider replacing the switch.
Final Words
Throughout this guide, we’ve explored the intricacies of keeping a mechanical keyboard in prime condition. I’ve emphasized the importance of regular cleaning, not just for the keyboard’s appearance but, more importantly, for its functionality and longevity.
Remember, a well-maintained mechanical keyboard is not only a joy to type on but also a reliable tool for your daily computing needs.