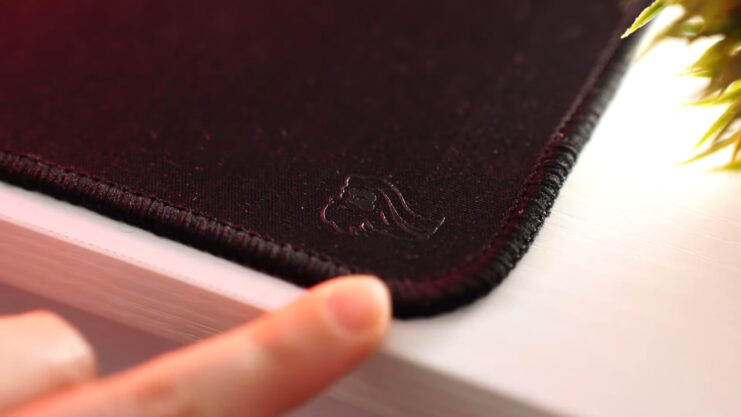
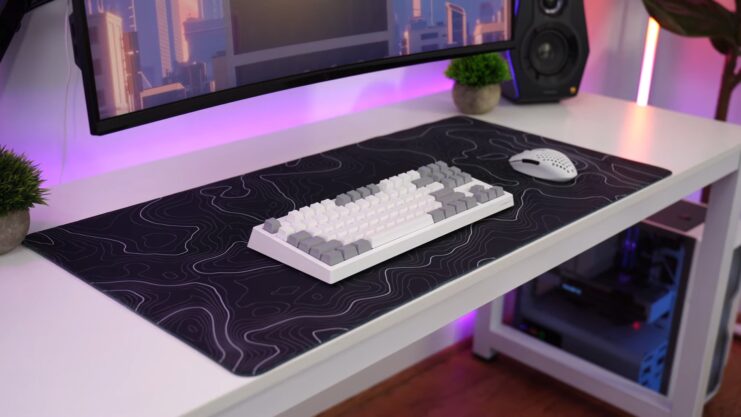
Hello fellow gamers, I’m Ethan, and I’ve spent years perfecting my gaming setup to ensure peak performance during every session. A crucial, often overlooked component of that setup is the gaming mouse pad.
As an expert on gaming gear maintenance, I’ve seen firsthand how a clean mouse pad can significantly improve mouse accuracy and response time. Today, I’m here to share my insider tips on keeping it in pristine condition. So, let’s get into the nitty-gritty of how to properly clean your mouse.
Materials Needed
When it comes to cleaning your gaming mouse pad, using the right materials is crucial to avoid damaging the surface and to ensure a thorough cleaning. Here are some of the materials you will need in this procedure:
| Material | Purpose | Why It’s Needed |
|---|---|---|
| Mild Soap | Cleaning Agent | A gentle soap will clean without degrading the material. |
| Warm Water | Solvent | Warm water helps to dissolve oils and grime without causing heat damage. |
| Soft Brush or Cloth | Physical Cleaning Tool | Soft bristles or a cloth will dislodge dirt without scratching the surface. |
| Soft Sponge | Spot Cleaning | A sponge can target specific stains with minimal abrasion. |
| Clean Towel | Drying | A towel will absorb moisture quickly, speeding up the drying process. |
| Bowl or Sink | Cleaning Container | A container is needed to mix the cleaning solution and, if necessary, to submerge the mouse. |
Step-by-Step Guide
Now, let me guide you through this procedure step-by-step.
1. Dry Cleaning
Before introducing any liquids to your gaming mouse pad, it’s essential to start with a dry clean. This initial step is about removing surface dust, crumbs, and other loose particles that can interfere with the texture and responsiveness of your pad.
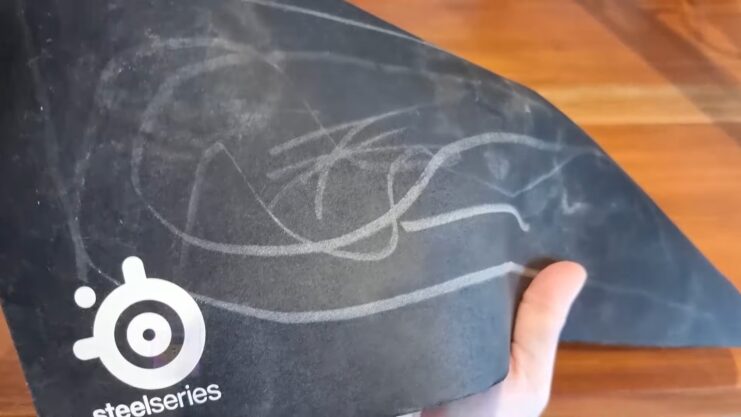
Begin by taking the mouse pad and shaking it vigorously outdoors. This will dislodge any large particles and give you a cleaner surface to work with. Next, lay the pad flat on a solid surface. Using a soft brush, such as a clean paintbrush or a makeup brush, gently sweep across the surface.
Start from one edge and work your way to the other, ensuring you cover every inch. The soft bristles are excellent for picking up fine dust without damaging the mouse pad’s delicate fabric or printed surface. If you don’t have a brush, you can use a dry microfiber cloth, moving in a consistent direction to gather and lift the dust.
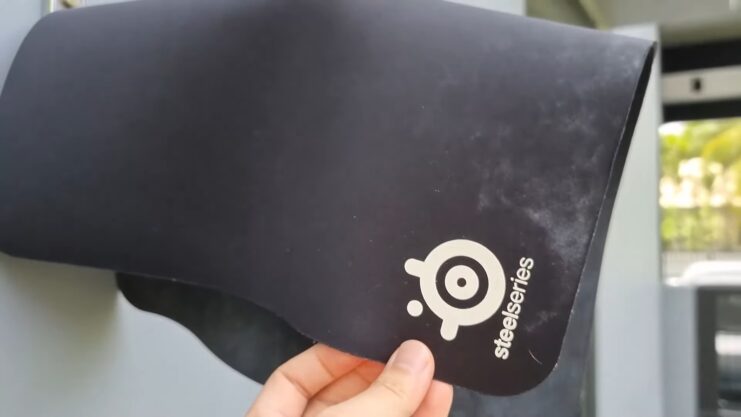
This dry cleaning process is particularly important for cloth variant, which can trap dust within their fibers. For hard surface ones, a microfiber cloth can be used to wipe away dust and fingerprints that often accumulate on the glossy finish.
Remember to flip the pad and repeat the process on the backside, which can also collect dust and may contribute to the pad slipping on the desk. A dirty pad can lead to mouse lag, and you want to avoid that.
2. Wet Cleaning
Once you’ve completed the dry cleaning, it’s time to move on to wet cleaning, which will address the oils, stains, and grime that a simple brush-off can’t handle. Begin by preparing your cleaning solution. Fill a bowl or your sink with warm water and add a few drops of mild soap.
The water should be sudsy but not overly soapy, as too much soap can leave a residue. Dip your soft cloth or sponge into the soapy water and wring it out well. The cloth should be damp, not dripping, to avoid saturating the mouse pad, which could affect the adhesive or the padding.
Gently wipe the surface with the cloth, using circular motions to lift the dirt. For more stubborn areas, apply a little more pressure, but be careful not to scrub too hard, as this could damage the surface. If you damage your mouse pad, or ruin it enough so you can’t use it, don’t stress as there are always mouse pad alternatives that you can use.
If you encounter spots or stains, use the sponge to apply a small amount of the soapy water directly to the area. Again, use gentle circular motions to work the soap into the stain. This targeted approach allows you to clean the pad thoroughly without soaking it entirely.
3. Spot Cleaning
Spot cleaning is a focused approach to address specific areas on your mouse pad that have accumulated stains or marks. These could be from spilled drinks, food, or even the natural oils from your skin. To tackle these, you’ll need to be both thorough and gentle to avoid damage.
After identifying the spots that need attention, apply a small amount of your soapy water solution directly to the stain. Using a soft sponge or the corner of a cloth, dab at the stain rather than rubbing it, which can spread the mark or embed it further into the material.
Allow the solution to sit for a few minutes to break down the oils or residue. Next, use a clean part of the sponge or cloth to gently lift the stain. You may need to repeat this process a few times for tougher stains, each time using a clean section of your cleaning tool.
Be patient – some stains may not come out completely, but most should lighten significantly with careful spot cleaning.
4. Thorough Washing
For a comprehensive clean, especially if your mouse pad hasn’t been washed in a while, a thorough washing might be necessary. This is particularly true for cloth variant, which can harbor a significant amount of oils and dirt deep within their fibers.
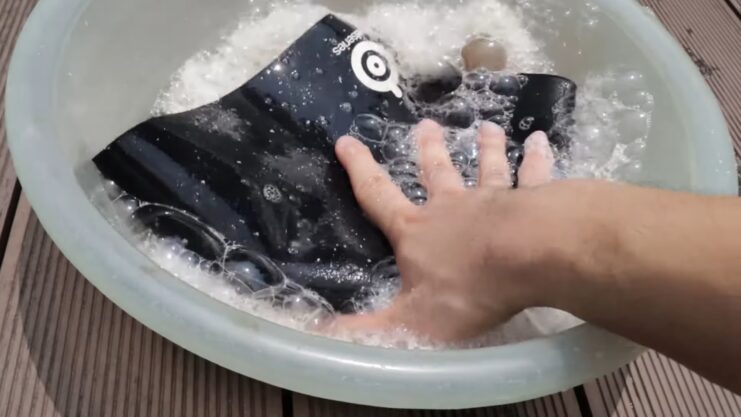
Before you begin, check the manufacturer’s instructions to ensure that your mouse pad can be submerged in water. Some pads, especially those with electronic components like RGB lighting, should not be fully washed in this manner. Fill your sink or a basin with lukewarm water and add a squirt of mild soap.
Submerge the mouse pad in the water and let it soak for a few minutes. Then, using your hands or a soft cloth, gently agitate the surface of the pad in the soapy water. Be gentle to avoid damaging the surface or the backing of the pad.
5. Rinsing
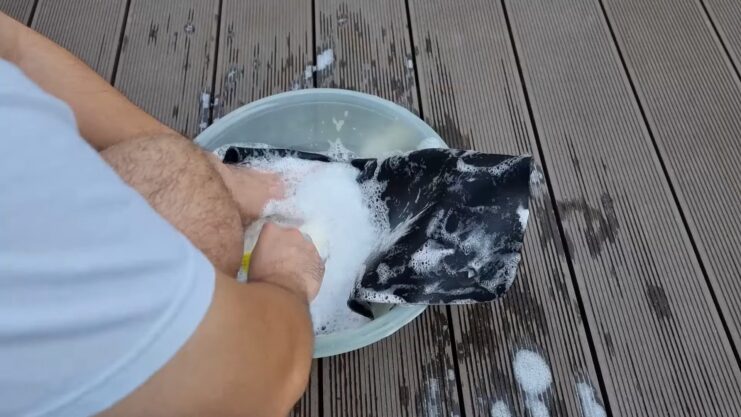
Rinsing properly is as important as the cleaning process itself. Any soap residue left can cause it to attract more dirt or even affect the smoothness of its surface. After you’ve finished cleaning the pad with your soapy solution, it’s time to rinse it thoroughly.
Start by running lukewarm water over the pad. If you have a detachable shower head, this can be an effective way to evenly distribute the water over the surface. Gently agitate the pad with your hands to help dislodge any soap bubbles and residue. Make sure to rinse both sides and all edges.
As you rinse, periodically shake the pad gently to help remove the water and check for suds. Continue rinsing until the water runs clear and you can no longer see any bubbles or soap on the pad. This may take a few minutes, but it’s a crucial step to ensure that your mouse pad is completely clean.
6. Drying
Drying your mouse pad correctly is crucial to prevent mold or mildew and to ensure that it retains its shape and functionality. After rinsing, lay the mouse pad flat on a clean, dry towel. Roll the towel and pad together to gently press out excess water, then unroll and repeat with a dry section of the towel if necessary.
Lay the mouse pad flat to air dry, preferably in a well-ventilated area away from direct sunlight, which can fade the colors or damage the material. Avoid hanging the pad, as this can cause it to stretch or deform. Depending on the thickness and material, drying can take anywhere from a few hours to a full day.
If you’re in a hurry, you can use a fan to circulate air over the pad, speeding up the drying process. Do not use a hairdryer or any direct heat source, as this can warp or shrink. Patience is key here; ensure the pad is completely dry before returning it to your gaming setup to avoid any dampness that could harm your desk or electronics.
Post-Cleaning
Once your mouse pad is completely dry, it’s time to return it to your gaming setup. Before you do, take a moment to wipe down your desk space to remove any dust or debris that might immediately soil your freshly cleaned cloth. Place the mouse back in its position and reconnect your mouse.
To maintain the cleanliness between deep cleaning sessions, consider adopting a few simple habits. Keep food and drinks away from your gaming area to prevent spills and crumbs.
Wash your hands before gaming to reduce the transfer of oils. And stick to a regular schedule of dry brushing to keep dust and debris at bay. Regular maintenance will not only keep your mouse pad looking and feeling great but will also extend its lifespan, ensuring that it continues to be a reliable foundation for your gaming success.
FAQs
Will cleaning my mouse pad extend its life?
Yes, regular cleaning removes oils and dirt that can degrade the material over time.
What should I do if my mouse pad has a stubborn stain?
Spot clean the area with a mild soap solution and a soft cloth, being careful not to saturate the material.
Can I use alcohol to clean my mouse pad?
Alcohol can be harsh on some materials. It’s best to use it only if recommended by the manufacturer.
Can I just throw my mouse pad in the washing machine?
It’s not advised unless the manufacturer specifically states it’s machine washable. Hand washing is gentler and more controlled.
Closing Thoughts
And there you have it—a comprehensive guide to keeping your gaming mouse pad as clean and responsive as the day you bought it. As someone who’s been in the trenches of gaming gear maintenance, I can’t stress enough the importance of a clean mouse pad for optimal gameplay.
Not only does it maintain the integrity of your mouse’s movement, but it also preserves the aesthetic of your gaming space. Remember, regular care doesn’t just prevent the build-up of dirt and oils; it’s an investment in the longevity of your gear.
So take the time to clean your mouse pad properly, and your future self—and your gaming performance—will thank you.